Some homesteading skills are more fun than others

Before we even started homesteading, I had a handwoven basketful of homesteader skills already under my hand-tooled leather belt. Not only did I make soap, but I made it out of tallow and lard that I rendered myself, and I made jams, sauces, and marinades out of the fruits and vegetables I grew myself. Long before we bought the farm, we even cultured an enthusiasm for fermentation (see what I did there?), from sauerkraut to mustard to salsa to kombucha.

I often tell people that I feel like I was born in the wrong century, but grateful for the option to wear pants nonetheless.

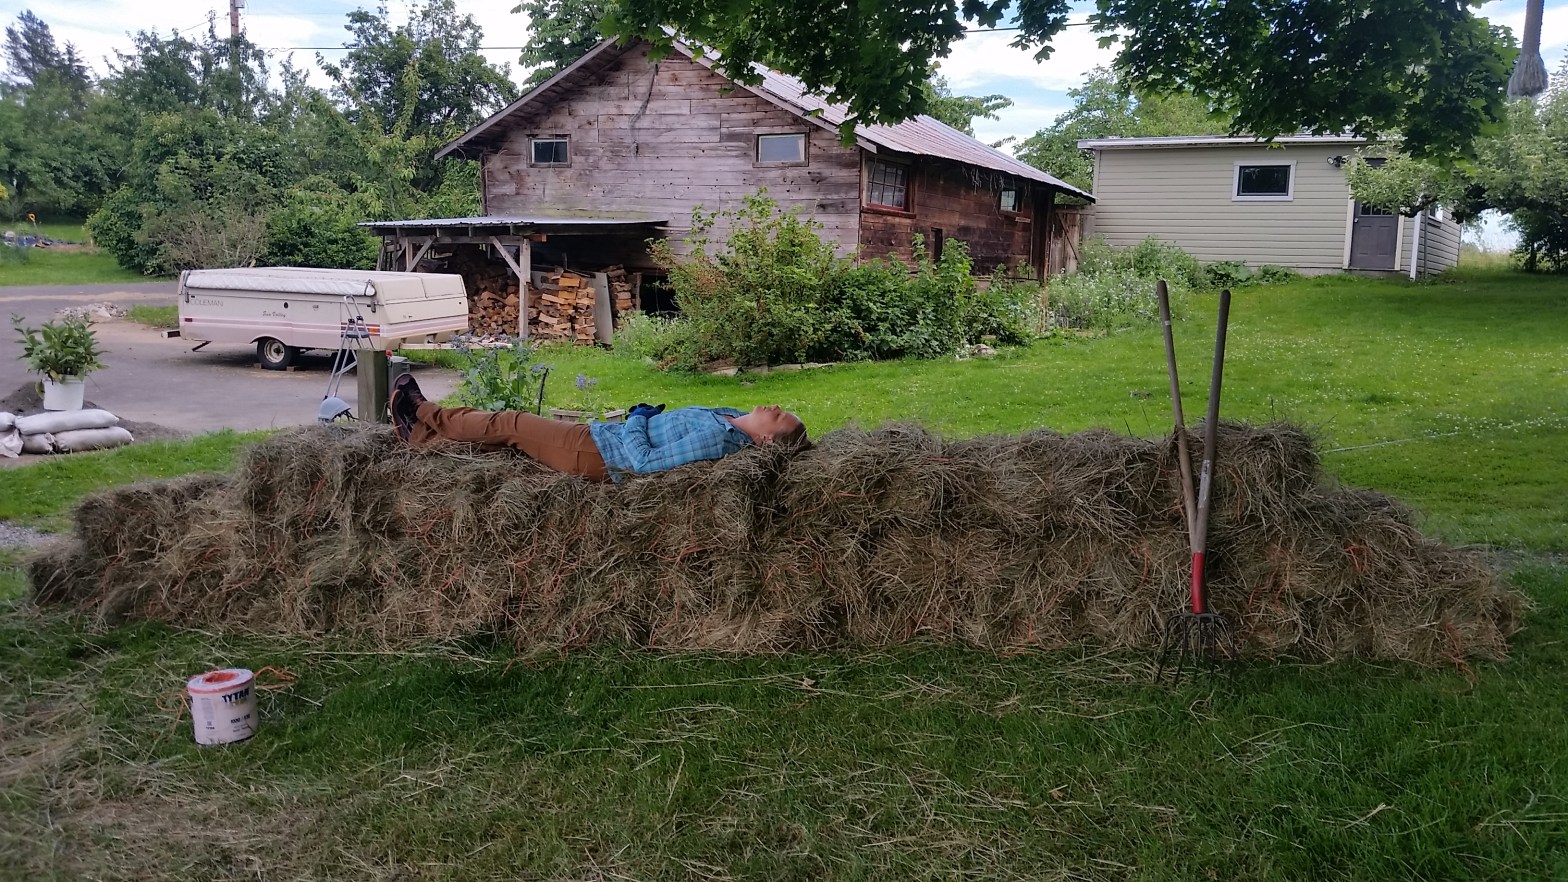
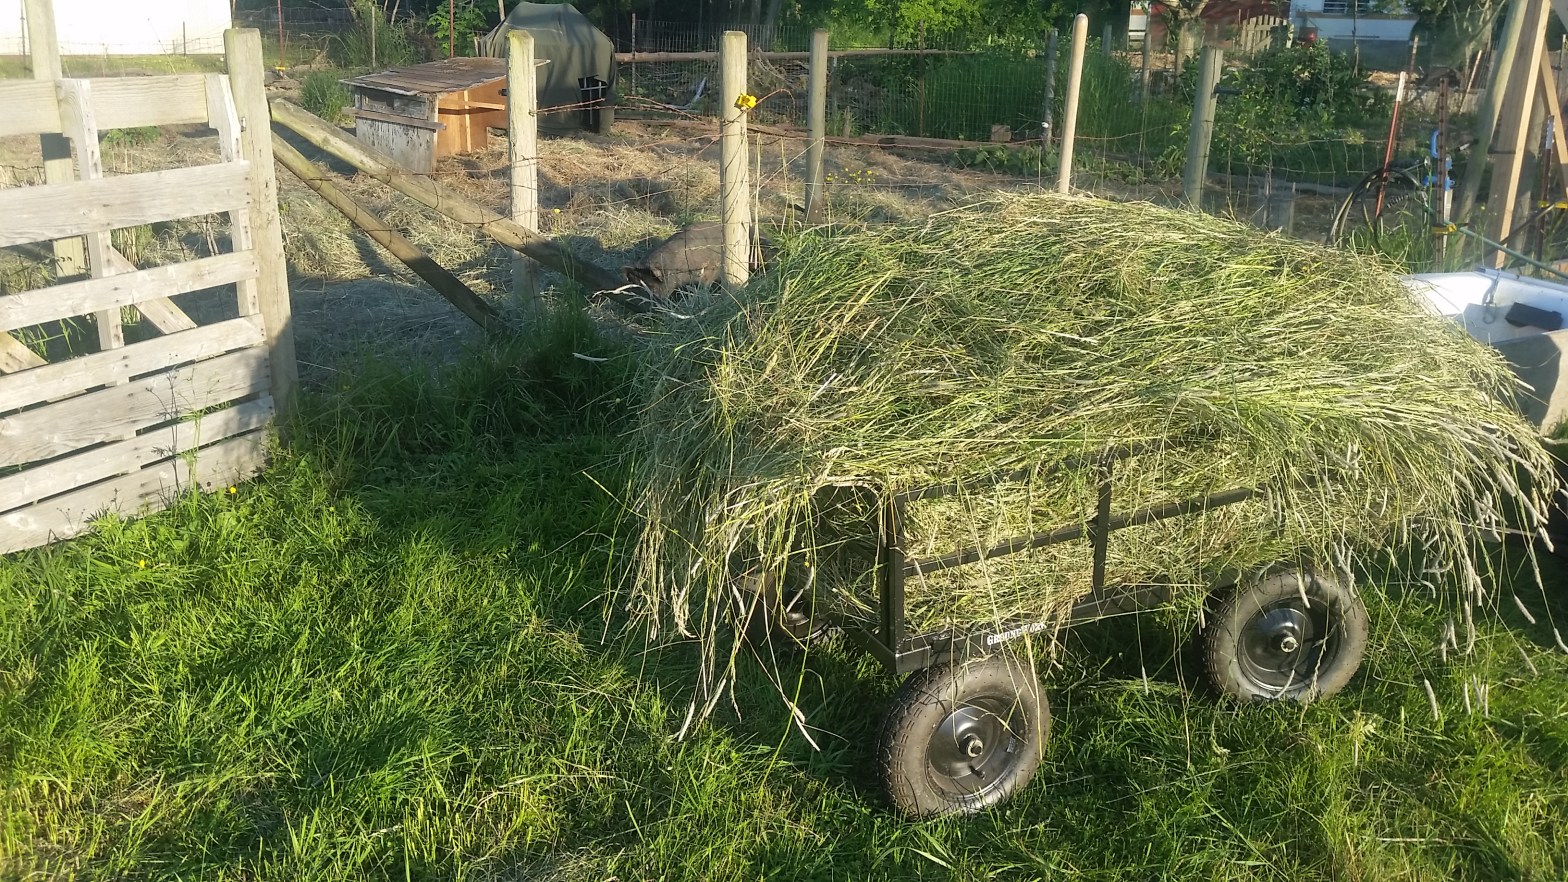
Josh and I have picked up other “cool” homesteading skills in the past year, including scything, blade peening, hay baling, butchering, winemaking, cider making, and cured meats.

These are the skills that people ask questions about during happy hour, and friends not infrequently tell us, “Your’e amazing/fascinating/impressive because of all of the things you know how to do. I would really love to learn how to do ____ someday.”

(a. We’re not amazing, fascinating, or impressive. We’re actually pretty  boring. We’re just driven by a combination of curiosity and urgent necessity. b. Anyone can do it, most of it isn’t hard, and there’s probably a YouTube video that will tell you how to do it. If you own a stove and want to learn how to can your own jam, there is absolutely nothing stopping you.)

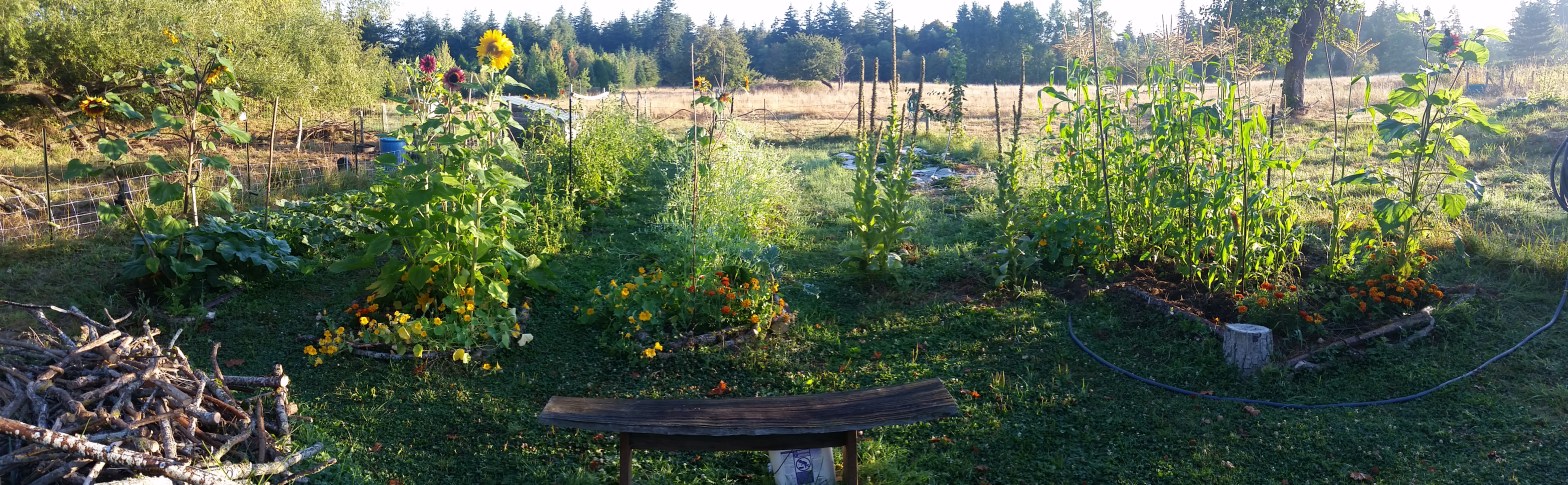
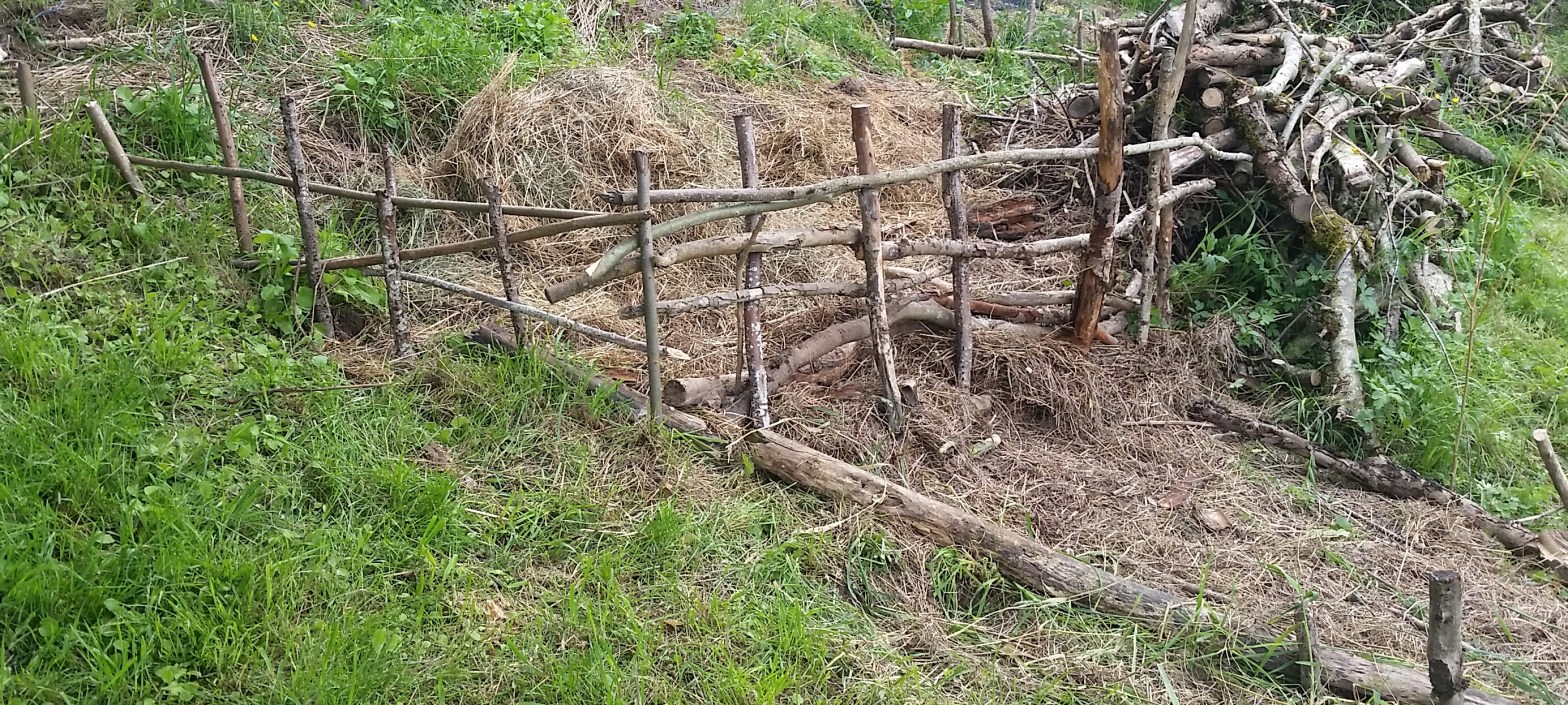
But there are other homesteading skills that no one envies, and most friends would prefer that we did not bring up over cocktails. Some of these skills are too mundane (want to know how to tie a baling knot, anyone?), too niche (let me know if you want to chat about methods of building a well-located hugelkultur guild), or too icky.

You knew this was coming.

In just the past 3 months, I had to learn how to tag a pig’s ear (not nearly as bad as I expected), give a pig an injection (so much worse than I expected), and do a necropsy on a dead chicken. These are the skills that no one ever says “I really wish I knew how to ____.”

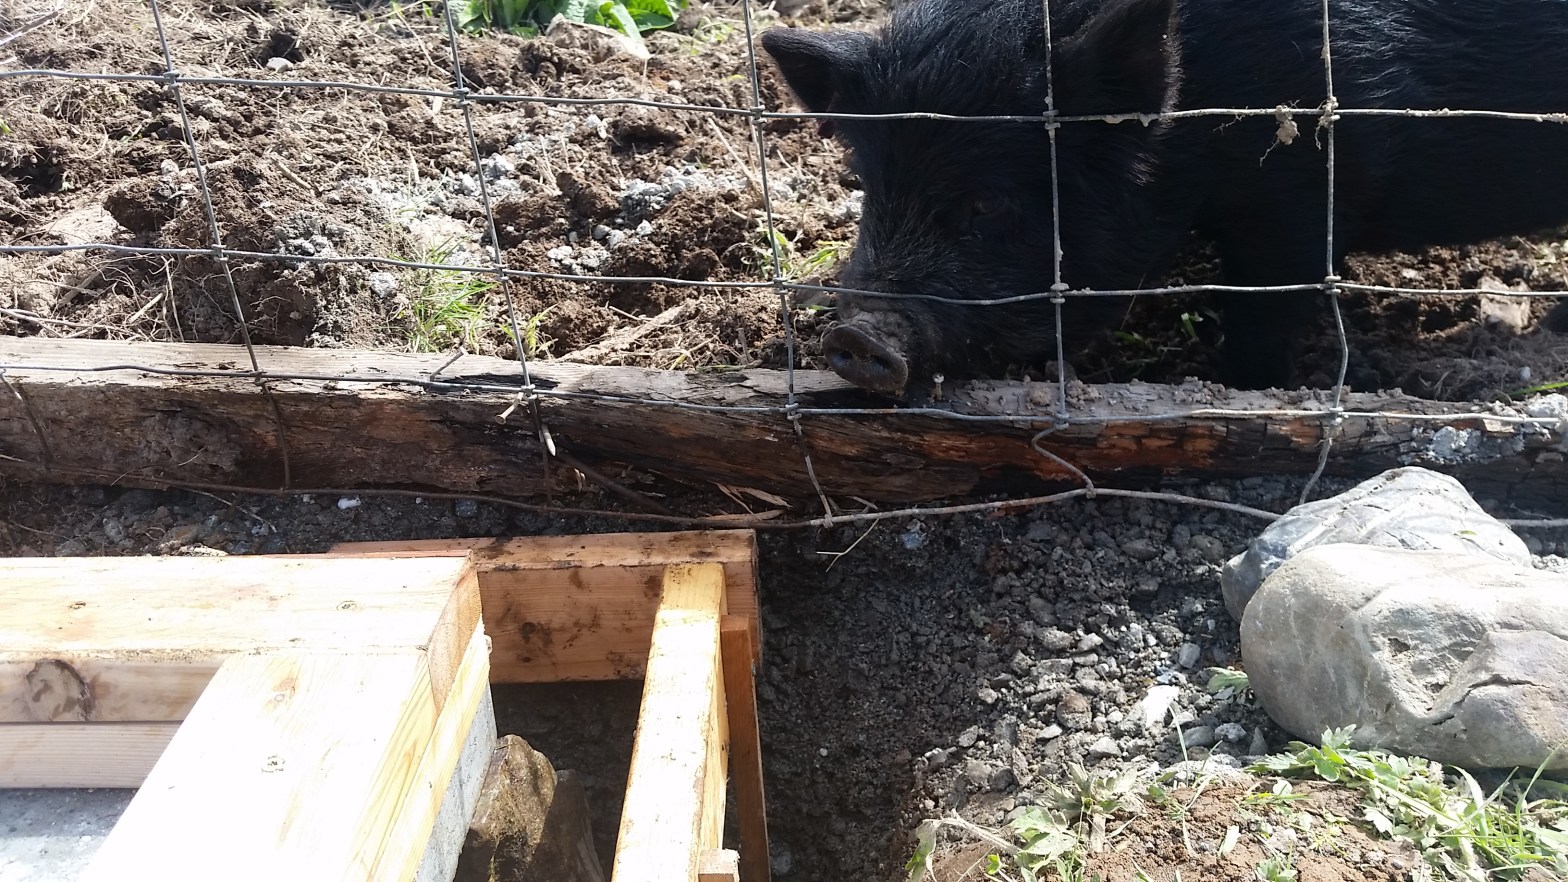
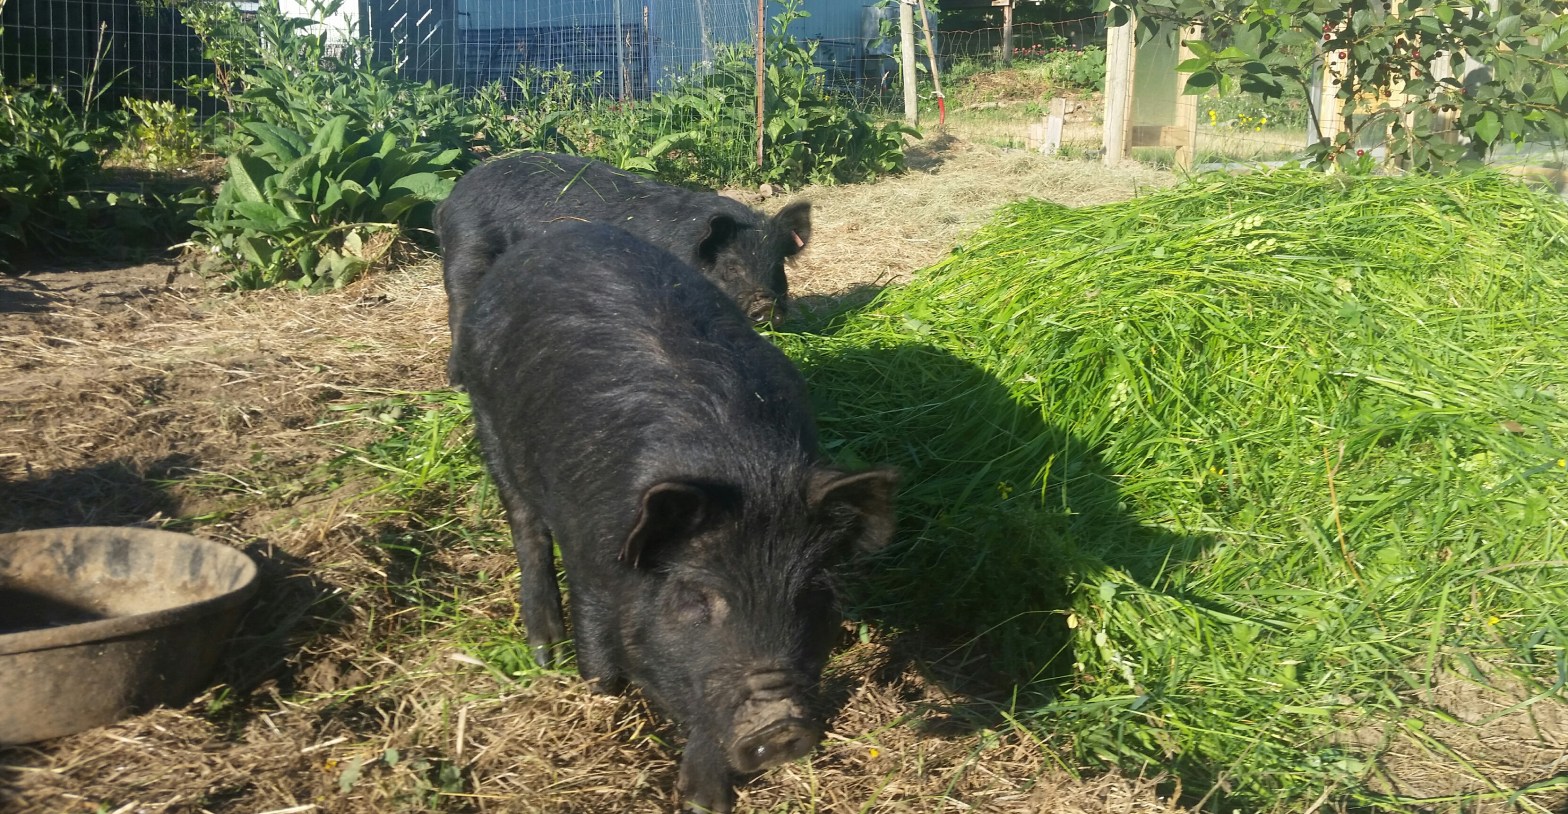
Ear tagging is pretty straightforward. There are tools designed specifically for this application. They are very similar in appearance and design to a paper hole punch, and the end result is a plastic tag that is securely fastened onto the animal’s newly pierced ear. I did it while the pigs were eating dinner, and while they each squealed in disapproval during the piercing part, they quickly resumed eating and seemed to forget about the new quarter inch hole in their ear immediately.

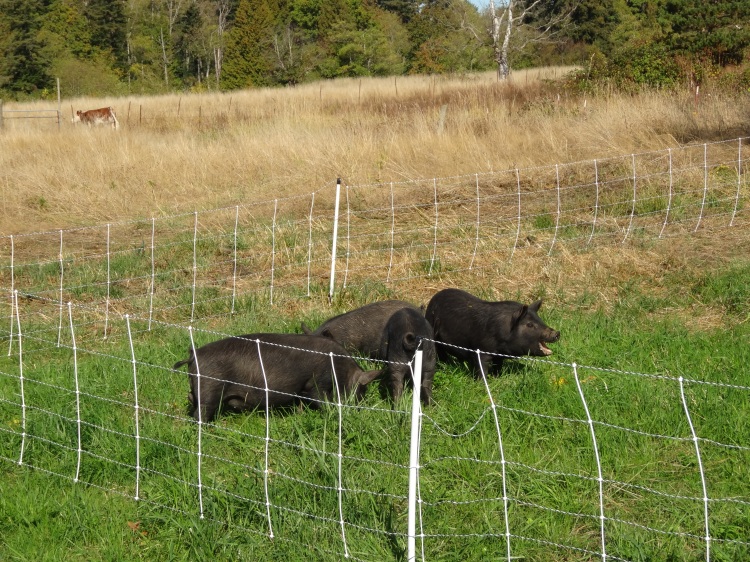
I thought that giving a pig a shot would be basically the same process. After all, the needle is a much smaller gauge than an ear punch, so I expected that I’d be able to slip it into the fat of their necks while they were eating and they’d be none the wiser. This was a bad assumption. That needle barely punctured the epidermis before the pig bolted away, squealing and spooked. I called in reinforcements. Josh and I made a plan that he would catch the pigs, tackle them to the ground, and hold them still while I gave the injection. We tried again.

Here’s the thing about catching a pig: there’s very little to hold onto. They are round and extraordinarily dense, so even if you can grab a hind leg, a 50 lb piglet can thrash you a bit while it struggles to get away. In the end we administered the selenium injection to 3 of our 5 pigs, and Josh was head-butted twice, slightly concussed, and covered in manure when it was over. We decided to go back for the other 2 pigs at a later date, but we haven’t yet talked ourselves into trying again.

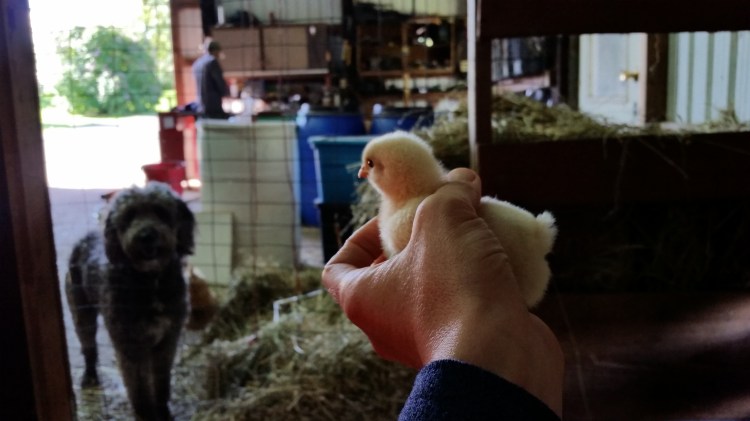
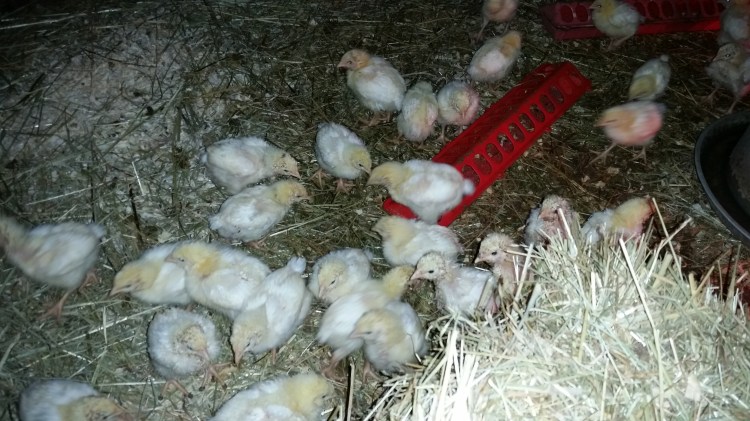
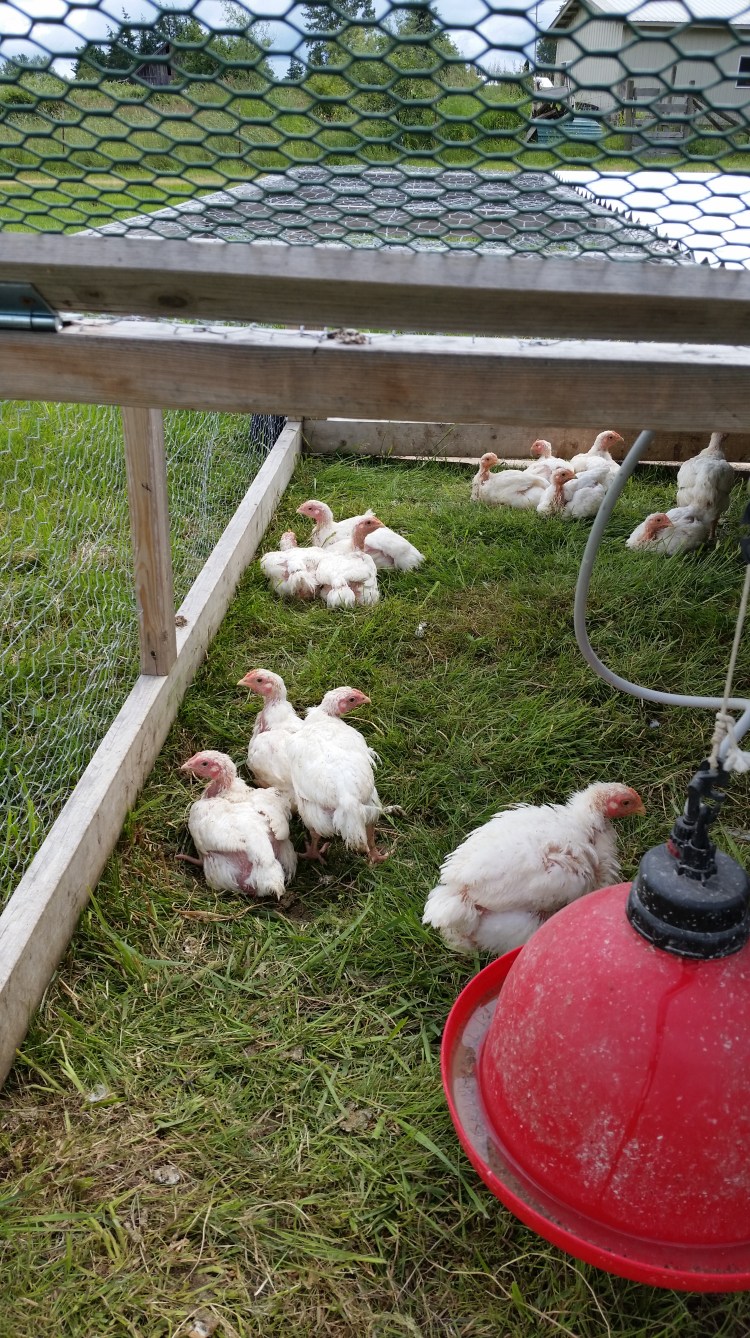
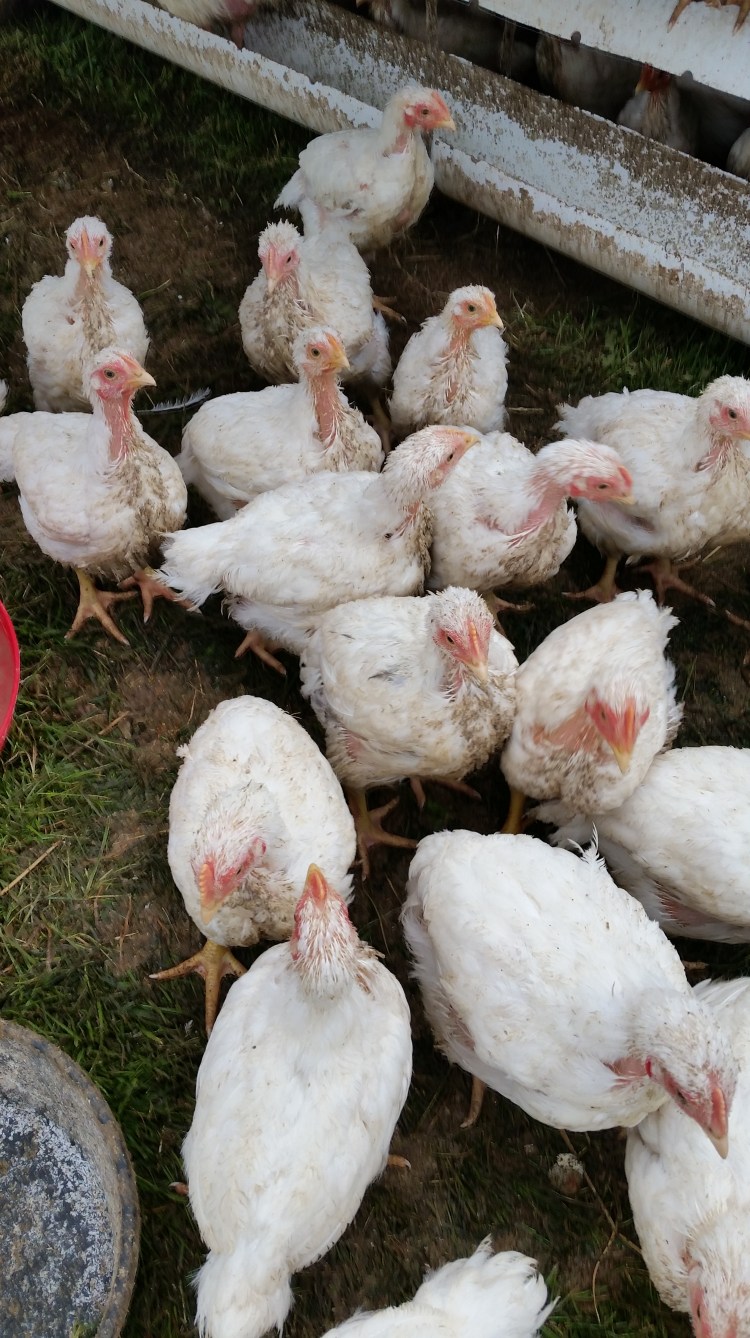
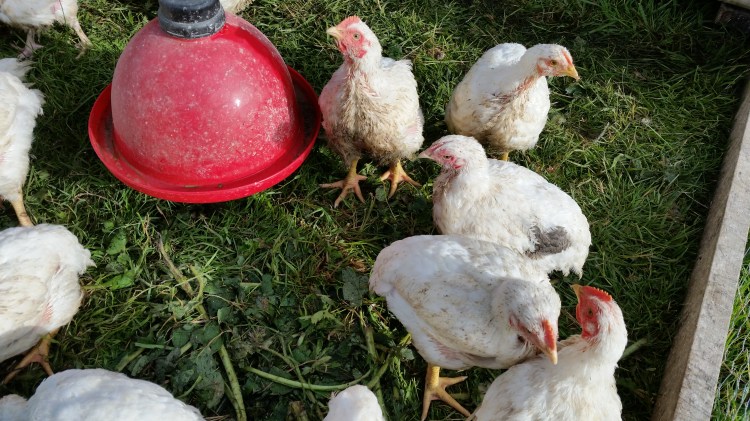
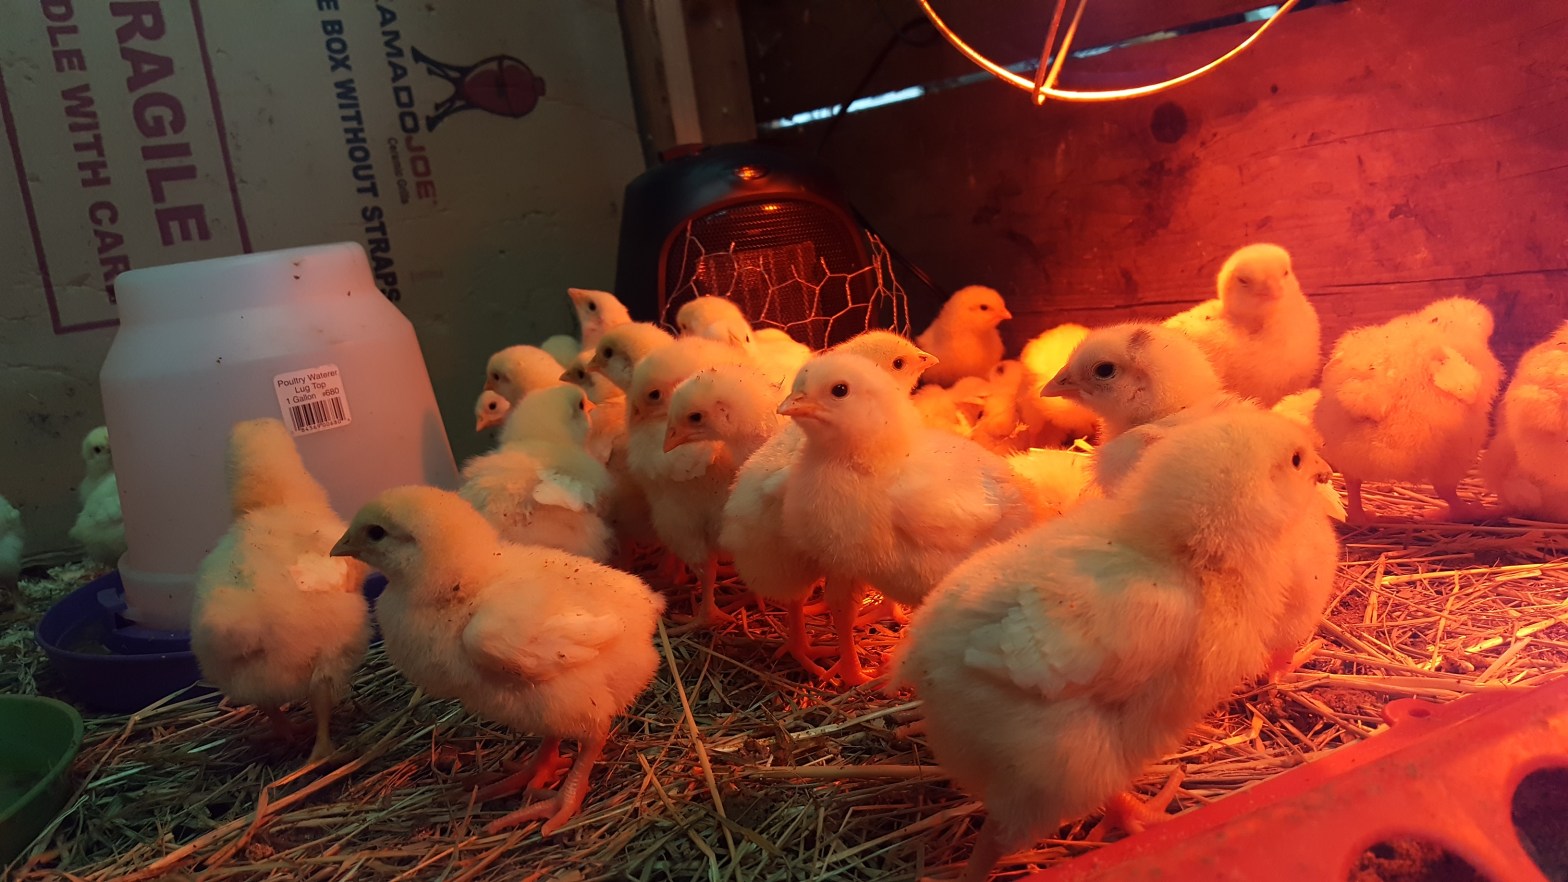
And the necropsy. Well, meat chickens have a pretty high mortality rate. In past years, we had good survival rates for our meat chickens, so we thought we just had this chicken farming thing nailed and everyone else was doing something wrong. But this year was a different story. Our meat chicks started out strong: they were the healthiest liveliest chicks we’ve had. They thrived. And after feeding them for weeks, when they were almost big enough to butcher, they started dying. We ended up losing 15%, which is statistically on par for this type of animal, but it was much higher mortality than we’d ever experienced before. We weren’t sure what was killing these chickens, so at the encouragement of a farm mentor, I pulled on my big girl pants and cut apart one of the recently dead chickens to figure out what went wrong.

You might wonder why butchering a chicken to eat is any different than cutting apart a recently dead chicken, and in many ways it’s not different at all. But there is a definite ick factor, because you don’t know what you’re going to find. Will something gross squirt out at me? (Probably.) Will the organs look diseased? (There’s a good chance.) I did it. I got squirted. The organs looked bad. But I figured out what caused the death, and I’m now a better and more knowledgable farmer because of it.

In our near-term future, we will need to learn to castrate piglets, and if we get sheep next year, then we’ll have to learn to trim hooves, which I understand smells dreadfully cheesy. At times the list of “icky” homesteading skills seems to outnumber the list of fun skills, but unfortunately, the icky ones are often the ones you can’t avoid.


8 weeks to chicken dinner

I often joke that you can grow a chicken to table-ready faster than you can grow a cabbage.

The modern variety of meat bird, Cornish Cross, is bred to grow very fast, from hatched to 4-5 lb roaster in just 8 weeks. Some homesteaders think this is terrible and unnatural, and opt instead for slower growing breeds, like the Freedom Ranger, which take around 12 weeks to reach finished weight.

(Side note: Cornish Cross is not an unnatural breed, and not a freak of nature. They’re a cross of the White Cornish and White Plymouth Rock. They are hatched in hatcheries, and not in petri dishes. I don’t have any qualms about them.)

Despite some skeptics, most commercial growers, and even the majority of small-scale farms and homesteaders, still use the Cornish Cross. The meat is delicious, it’s recognizable to consumers as the same chicken they buy in the grocery store, the chickens convert feed lbs to muscle lbs very efficiently, and you can’t beat how fast it all happens.

The slower growing varieties like Freedom Rangers eat at the same rate, but for 1/3 again as long, so if you’re buying organic feed, it’s very very difficult to raise them at a cost that customers are willing to pay. That chicken might be organic, soy-free, pastured, and have a first and middle name, but $7/b? It’s still just a chicken.

We raised two batches of Cornish Cross this spring. 83 out of 95 made it to butcher day, which means that we lost 13%. This is a very normal mortality rate for these chickens, which are prone to leg splay, heart attack, and impacted crops from eating too fast. But it was the first time we’d lost so many.

It was also the first year that we struggled to grow a decent sized chicken. Since we failed to even break even on our chicken venture last fall, we made some changes this year to make the whole thing more cost effective without compromising on quality. We got the chicks from a different hatchery that was closer and cheaper. We got the feed in much larger quantity from a different organic mill, which saved us over 30% in feed cost. We fermented the feed, which drastically reduced the amount wasted by being scratched or pecked out of the feed trough.

In past years, we’ve averaged a 4.5 lb chicken (dressed) at 7.5 weeks. This year, we averaged a 3.2 lb chicken at 8.5 weeks! It was very disappointing, and I was embarrassed to hand over these little birds to our customers. Fortunately, most of our customers are friends, and they were gracious about it.

Because so many elements were changed over last year–different feed brand, different method of feeding, different hatchery, larger number of chickens in the tractor together, different time of year, etc–it’s impossible to pinpoint the cause of our underweight problem. Next year, we’ll probably try yet another hatchery and hope for better yields from different genetics, because unfortunately we don’t have another organic feed option to try.

Now what’s really going to bake your noodle is that this spring we raised two batches four weeks apart: 47 chicks started the first week of April, 48 chicks started the first week of May. We raised each group to exactly 8.5 weeks, and fed them exactly the same quantity of food, and raised them in the same conditions. The first batch averaged 3.5 lbs (which was already small and disappointing), and the second batch averaged a measly 2.9 lbs! So even if you do everything exactly the same, you can’t count on consistent results. It’s one of the many conundrums of farming.

Although the weights were low, we managed to do a little better than break even this year, in spite of making a costly mistake when heating the brooder. We’re still learning. There’s so much to learn. And these are just chickens! The bigger the farm animal, the more that can go wrong, and the more expensive the consequences.

Here’s a week-by-week photo journal of the chicks, from day-old to just a few days before we processed (no processing photos included, so you can safely scroll to the end). We keep them in a closed brooder until they have tail feathers, which is about 3.5 weeks, and then they are moved out to the grass in a “chicken tractor” (see the photo at the top), which we move to a new patch of grass 1-2 times a day. They till up and fertilize the ground underneath, leaving behind an area that becomes vibrantly green a few weeks later. Josh then cuts this thick rich grass with a scythe and feeds it to the pigs. Full circle.

Farm Dog Ursula
Day old
Week 1
Week 1
Week 2
Week 2
Week 3
Week 3
Week 4
Week 4
Week 5
Week 5
Week 6
Week 6
Week 7
Week 7
Week 8
Week 8, approximately 4 lb live weight. These guys were smaller than most Cornish cross at this age.

Better weather for hay making and ultralight bales.

My previous batch of hay got spoiled by rains while still in the field, although it did get used as compost and mulch, so not it was not a total loss. Last week, with a clear forecast and some time off from the day job, I spent two mornings scythe cutting and a half hour here and there with the hay fork in the afternoons turning and spreading to help it dry. 20170624_174359

It was glorious weather this time and the hay turned out lovely. Gwen and I were able to drive the truck into the fields thanks to the dryness and fork up some rather impressive loads into the bed. Stacking is an art and as well as a science. If you simply lump it all in, the top will eventually slide right on off the pile. You’ve got to layer and spread it into the corners evenly, then tamp it/thump it to facilitate an interlocking. A nicely woven pile with have a fluid quality to it, not unlike a waterbed really. The hay will ripple outward when hit.

Yes, that is where the term “hit the hay” comes from! People used sleep on hay and would kind of fluff it up before bed with a hit or two.

Our first two loads were conservative, but the third one went up a little above the cab. I rode the on top of the hay back under the shady maple tree to make sure we didn’t lose any, but I don’t think it was necessary. 20170625_173025.jpg

Under cover, we used the trusty 23 gallon garbage can, miles of bailing twine, a lot of muscle, and some good tunes to bale up the hay. About 5% needed a redo on the slipped twine, some were “hairy” for lack of a better term, but most bales came out decently compressed and even a bit blocky. I have yet to weigh them, but I reckon they are around 15 pounds, perhaps as much as twenty. A far cry from the machine packed ones that require a heave AND a ho.

I call these “one handers.”

20170627_193442
One normal bale there as a cornerstone for structural support.

They are really easy to stack high onto the hay loft. Time will tell how far this amount goes into next winter, but I think the chooks and piggos will really appreciate the homemade edible bedding come December’s chill. 20170528_154615


Living on the Edge

Our homestead lies on the border of the two cities: Bellingham and Ferndale. Hence, the name, Bellfern. Our short road is a less traveled and rolling one, dotted with old barns and hayfields with a wooded creek meandering across. Yet, blinking into our living room at night is a giant LED screen advertising the casino down the road.

We are a 20 minute bike ride to the co-op grocer and only a half mile away from the freeway entrance. A 10 minute drive north takes you to open farmland, where big berry farms dominate and folks lean red politically. A 10 minute drive south leads you to a hip college town, where local businesses are well supported and people vote to uphold social services with their tax dollars.

We appreciate both worlds, whether its a trip to the small feed store up north, only open on Thursdays and Saturdays, or an evening spent at the improv comedy club owned by a well-known celebrity (rhymes with Bryan Smiles). We like the down-to-earth practicality and easy conversation with our northern neighbors, while we appreciate the intellectual challenge and artistic expression that comes with living near a college town.

We’re living on the edge.

An edge is defined as the convergence of two adjacent and contrasting areas. It’s not about the line down the middle as much as it is about the space on either side.

We are “gentleperson farmers.” Before leaving for work each morning, we haul fermented feed to the chickens and give scythe-cut grass to the pigs. At any point we are likely to step in poop (dog, chicken, or pig), yet our day jobs require us to appear scrubbed up and shiny. When we come home in the evening, we change back into our favorite Duluth Trading Co. work pants and flannels. We love the physical challenge of farming, but we both also love our day jobs, which stimulate us intellectually and socially. We like it on the edge.

They say the edge is the most fertile ground of a landscape. If you leave a pile of compost, for example, just sitting around, the first place you will find something thriving is where the pile meets the ground, since that is where nutrients settle and there’s the necessary light, oxygen, and microbes present. If you pay attention, you’ll see that biodiversity is greatest at edges like ditches, walking paths, and roads. In the wild, the edges of waterways, meadows, outcroppings, and avalanche chutes are typically the lushest and most interesting. 20160810_114049

As much as possible, we try to live in the fertile space on both sides. We don’t “walk the line” as much as we waltz across it, sometimes dozens of times in a day. The edge isn’t really a line at all, so much as a point of convergence and balance that we’re always moving toward.

20151017_141911
“If you’re not living on the edge, then you’re taking up too much space.” – Stephen Hunt


Wattle retaining wall.

Near our house in the back is a steep weedy pugged (highly compacted) slope. Pretty much good for nothing other than a headache and poor footing. I had the idea last year to cover it with mulch to smother the weeds and perhaps level out the slope some. Well, our über free range layers (little vulturous destroyers that they are) absolutely live for throwing mulch down hill while hunting bugs where it smothers the grass instead. I would add more and they would throw it down. Again and again. Meanwhile, the weeds in their lovely new nutritious and humid environment totally thrived.

Later, while making hay by hand, it rained thereby ruining the entire rest of the batch. Now I’ve got cartloads of the stuff. It should be good for compost (provided it gets hot enough to neutralize the grass seed), but piling it just doesn’t work with those birds around!

So, needing to retain the hay, I turned to the adjacent piles of branches staged on the slope for a potential hügelkultur project. With a small sledge hammer I was able to pound in some thick sticks and weave in thinner ones for strength – technically a wattle, or wattled? I don’t know, but it took me about 45 minutes thanks to soft ground from a recent rain. Much MUCH quicker than the stonewall I hope to build in the future!

And it was free.

In goes the spoiled hay, kitchen scraps, manure, and comfrey (supposedly a compost accelerator, likely due to its high nitrogen content). It seems like a good solution that will give me a place to put all the hay, smother weeds, begin the terracing, and hopefully yield some good rich soil in the process.


You can see that Dusky is thoroughly impressed, but I think it is fun to use whatchya’ got and solve several problems at once.

Handmade Hay

Right now (in late May) we have a dozen (small) bales of hay in the barn. And we did it all by hand. Every step, from scything to stacking, with no tractor power.

Now, one might ask, “why?” And, “is it worth it? And, isn’t it a TON of work?”

As for the why, the reasons are many.

  1. Biodiversity: Many of our grass species climb to 3-5 feet tall and that shades out other species, like clover, that fix nitrogen.
  2. Output: Cutting grass encourages side growth, so you can increase output per square foot by cutting regularly.
  3. Nutrition: Keeping grass at a medium height is where the most photosynthesis happens. Carbon is placed into the soil where it belongs!
  4. Traffic: It is infinitely easier to get from point A to point B when the grass isn’t waist high.
  5. Byproduct: Hay can be used for feed, bedding, mulch (debatable, because grass seed), and compost.
  6. Exercise & Meditation: Scything (to me) is incredibly satisfying and delightful and an exceptional workout.

Is it worth it? Monetarily, no. A heavy bale of local non-sprayed hay is only 6 bucks. But, when you factor in ALL of the above, I reckon it is worth it.

And why don’t we use a tractor? Unfortunately, NW Washington is not an agricultural hotbed, and you can’t get affordable used equipment out there. For us, there’s no cost justification for a full haymaking setup on our small acreage. And we don’t have any near neighbors who have the equipment either.

So without other options, we’re doing it by hand. Yes, it is a TON of work. But, none if it is really that terribly backbreaking. I mean, hay is light. Especially when you do wee tiny cute bails like we did (they’re maybe 20 lbs). There are just a lot of steps. And weather can kick you in the pants, like we found out this week with a few days of rain on our freshly dried hay!

So, first is cutting. It took me two decent days to cut 2/3 acre. When scything, you can cut a swath about 10 feet wide and the arc action of the scythe lays 95% of the grass to one side in a neat line called a windrow. This row then must be turned and spread and fluffed (the technical term is “wuffled,” which is almost better than fluffed) to dry over the course of the next 4-5 days depending upon conditions. 20170524_123703

Again, its all pretty light work, there’s just a lot of it. Its all very quiet, except for our farm dog Ursula, who begs us to throw her ball deep into the uncut grass so she can practice sniffing it out.

The hardest and newest part for us was baling. Gwen and I researched homemade hay baling and found that basically you stuff the hay into a box, tie it up, and pull it out. Sometimes people rig up a plunger to smoosh the hay, but that seemed excessive. Gwen found a $34, 23 gallon sturdy plastic garbage can at a hardware store that fit the bill for us.

It was late on a hot day when we attempted the process and we only got in a couple hours before petering out. We did a lot of trashcan yoga, balancing and bouncing on the hay in the bin to compact it. We learned to tie a bailing knot (also called a packer’s knot), and agreed that pulling out the load was not actually “80% easier” as advertised on the outside of the trash bin.

So, we didn’t finish baling everything I had cut and dried over the weekend, and we had to go back to work. Then, it rained. And rained again. Good thing there’s about 3 more acres to cut, by hand. Yippee!!!

You can watch the scything and the baling (both with panache) here:

Underestimating the determination of a bored pig

We came home from work last Thursday to find our two gilts (girl pigs) missing from their paddock.

This was not completely unexpected. The wire fence surrounding their paddock is old and loose in places, and they had pushed under it twice the week before. Once they made it as far as our junk pile, and once into our neighbor’s yard. Both times it was easy to round them up and bring them back. We beefed up the fence and added barriers where there were obvious weaknesses.

They were clearly getting bored in their paddock, which is ample in size, but pretty much grazed to the ground. The cartfuls of fresh-cut grass we delivered daily couldn’t compare to the temptation of lush green pasture on the other side of the fence.

On this fateful Thursday, we could see where they had pushed under the edge of their fencing into our neighbors’ yard (again), but that’s where the clues dried up. This was puzzling, because there’s plenty of green for a pig to eat right now, and no reason they should want to stray far. It’s also unusual because the ground is soft, and they love to dig their noses into it, so it’s usually not hard to find the trail of a pig; just follow the divots. And finally, these pigs are tame, friendly, and vocal, and usually a “Hey pig!” will bring them snuffling and running. There was no sign of them anywhere.

After a panicked hour spent calling for them, tromping through back pastures belonging to people we haven’t yet met, walking down the road looking for them in ditches, I started to think of possible scenarios: none of them were good. (a) They ended up in someone’s yard or garden and were shot and someone was enjoying a BBQ, or (b) they were attacked by a coyote. There was a remote (c) that they were snuggled up in the tall grass of a neighbor’s back pasture and in no hurry to come home, but my gut told me this was not the case.

While we were in our neighbor’s boggy pasture, shouting for our pigs, he came out to tell us he’d seen them earlier in the morning rooting through their compost pile. He went inside assuming they’d be there a while, then came out 20 minutes later intending to lure them back to our house only to find that they were completely gone. But, he had seen two animal control trucks drive past later in the afternoon…

This introduced a scenario (d), and considering the options, it gave me a glimmer of hope. If they were picked up by animal control, then they were safe, sheltered, and fed. To channel our anxiety into something useful, we spent the evening making additional fence fortifications in their paddock. It was an act of hope that we hadn’t lost them permanently.

The local animal shelter doesn’t open until 10 a.m., so Josh and I spent a sleepless night wondering what had become of our piglets, hoping with all our hearts that possibly, just maybe, a neighbor had called animal control instead of pulling out a shotgun, and that our pigs had spent the night in a shelter and not gutted and skinned in someone’s barn.

At 10:01 the next morning, I slipped away from my desk job and called the local shelter. I was a picture of zen calm: “HelloI’mSoSorryI’veLostMyPigsDoYouHaveThem?!??!?!?”

A pause. “I’m so sorry to hear that. We might have your pigs. Would you please describe them?”

HA! The elation! The wonder! The knot in my chest began to loosen. Our piggies were alive! I was greatly relieved to learn that they had not suffered or been injured, but also thankful that we wouldn’t have to completely rewrite our farm plan. The loss of our two gilts would have meant no fall litters of piglets, no future generations, essentially an end to our small-scale pastured pig operation before it even got started.

After describing the animals (whose ears I had fortunately tagged just a month before), the officer confirmed that they were at the shelter and unharmed, and I assured him that I was on my way over to claim them.

True to his word, they were safe and comfy, and the staff at the shelter had all doted on them. Their pen was pretty posh, with fresh hay beds and a roof overhead. The lucky pigs spent the night at a piggy Hilton. The price tag for their adventure and overnight stay: $135. Ouch.

When we got them back home and settled in their paddock, we looked at the enclosure with new eyes. True, the fencing was old and loose in places, and our efforts to build blockades and wire it back together were not sufficient. Also, the pigs had eaten the new spring vegetation weeks before, leaving only thistle poking up through the ground. We were feeding them mounds of fresh-cut grass daily, in addition to plenty of other food, but their forage was gone and they were bored. Finally, the thistle was growing fast and everywhere, which added the annoyance of getting poked every time they flopped down to take a nap. No wonder they decided to take a hike.

Josh and I discussed a renovation plan (a plan!) and set to work converting their large but sort of sad paddock into a well-confined piggy paradise. Our first order of business was to string an electric wire at hog nose level inside of the flimsy fence. Then we pulled all of the thistle and dug out some blackberry that had begun to establish. We built a new larger shade shelter, and covered the paddock with dried grass and hay mulch a foot deep, which pigs love to root around in.

Eliza and Hypatia seem very pleased by the remodel (though they’re not crazy about the new electric wire), and have suspended their plans to run away for the time being.

If the weather stays dry, the ground should be firm enough within the next couple of weeks to begin rotationally grazing them around the pasture in our electric netting. It can’t come soon enough! We’re ready for a drama-free month.

wp-1495571879615.
Happy pastured pigs. AGH piglets around 6 months old.

The cost of novice homesteading mistakes

I really admire people who carefully research their ideas and plans of action before they go ahead. I bet they experience little waste and a high rate of success. Josh and I are not those people. We’re the people who jump in and then learn how to swim. It’s a useful strategy for us, because we keep moving forward and are constantly learning new things (often under duress). But it’s a strategy that often results in expensive mistakes.

Some mistakes cost more than others. And when you’re homesteading, it seems like the costs are so much higher. For example. In March we seeded flats of seeds in our 4-tier pop-up greenhouse. It was a cold March, with nights in the upper 20s and some blustery days. Knowing this, we tied the greenhouse to the south-facing wall of our barn to secure it. But we didn’t expect any BIG windstorms with 70 mph gusts, which is what happened in early April, when we came home from work on a Friday evening to find our greenhouse had ripped away from the flimsy tie-downs, and the flats of newly sprouted seedlings scattered across the driveway. The greenhouse itself had blown 20 feet before getting stuck on the power mast for our septic tank. We had spent hours pouring over seed catalogs in January, selecting specific varieties for taste, flavor, and climate. It was a crushing disappointment to lose so much all at once, and by early April it was too late to reseed some plants, like tomatoes and peppers (which are best started in early February in our climate).

And speaking of the septic mast, some mistakes go remarkably and miraculously unpunished. Back in January, during yet another fierce windstorm (it was a rough winter), we neglected to stake down the mobile chicken tractor with T-posts, even though the former owners had cautioned us that it had been known to blow over in big storms. We’d experienced several big storms with fierce winds throughout the winter, and it had never even wobbled, so their warning had dimmed a bit in our memory, until we came out one Tuesday morning before work to feed the chickens and found the 300 lb chicken tractor 30 feet away and turned 90 degrees from where we left it the night before. And here’s the miraculous part: 1. There were no chickens in it at the time, and 2. It had landed with the open chicken run part squarely on top of the septic mast.

20170118_074743

It must have blown up in the air, pivoted, and dropped back down on top of the septic tank. I shudder to think of the damage that might have happened if the coop had knocked over that electric panel. And yet nothing at all was broken, not even the terra cotta planter just 6 inches away from where the corner of the tractor landed. It was a near miss and a costly mistake very narrowly avoided.

Failing to adequately prepare for nature is just one way that our best homesteading intentions have been thwarted in the past year. But some screw-ups we can only blame on ourselves. Last fall, we raised some chickens in true Gwen-and-Josh style, which is to say that we did not draw up a plan or a budget. We just did it then regrouped when it was over to discuss what worked and what didn’t. What didn’t work was that the chickens didn’t grow nearly as big as we expected. We also lost a lot of money. We were unable to raise them for the (fairly high) price we had set for them at the outset.

With lessons learned, we made plans to do things differently this spring. We found cheaper sources of quality organic feed. We found a closer hatchery, which saved costs both on the chicks and on shipping. We decided to ferment feed, which increases feed conversion and drastically reduces waste. If I did my math right, we were poised do a little better than break even on chicken sales this spring…we might even make a profit of tens of dollars!

When we got our first batch of chicks in early April it was still freezing at night, and the barn offers no warmth aside from a windbreak. The chick brooder wasn’t getting warm enough with two heat lamps, so I suggested bringing in a little space heater, which we then ran 24/7 for about 4 weeks.

I got our electric bill last week. That little space heater cost us $100 to run, an expense that completely erased our thin profit margin. It was a stupid mistake. In hindsight I can think of ways we could have kept the brooder warm with just heat lamps and a temporary roof to reflect the heat, but it would have required some effort and creativity. At the time I was tired and overtaxed, and the space heater was an obvious at-hand solution. In this case, a failure of imagination cost real collars.

20170409_122738

But all of those missteps were a prelude to our biggest homesteading error yet: underestimating the determination of a bored pig.

To be continued…

Spring on the farm

It’s spring, so of course there’s so much going on at Bellfern Homestead, and I’m too tired to organize it all into an interesting and themed narrative. This is going to be a casserole-style blog post: take what you have, mix it all together, add cheese, and hope it holds together.

We’ve got over a hundred chickens on the farm at the moment, with two batches of meat birds in progress: the older meatheads are in their tractor out on the pasture, munching on grass and bugs, and the young’uns are in the brooder in the barn where they’ll stay until they start growing feathers at around 3 weeks old.

We’ve got 6 pigs separated into three different paddocks–one for the gilts (lady pigs who haven’t yet had piglets), one for the boars (they have to be kept separate from the gilts to prevent premature pregnancy), and one for our older barrow (a castrated male), who is headed for the butcher next week.

There’s also a flock of 14 laying hens, our two farm dogs, our decidedly not farm cat, and Farmer Gwen and Farmer Josh.

That’s a lot of mouths to feed every morning before we leave for work at 7!

The Pigs Get a Bath

In early April, we noticed that the pigs were really itchy. Their skin was flakey, and they were desperate to rub up against anything sturdy. I’m not sure if they simply had dry skin, or if they had mange mites, which are very common in pigs but considerably ickier. Either way, there’s one natural solution: oil bath!

This is a surprisingly fun event, both for me and the pigs. I used canola oil and an old bottle brush to apply, which helps work the oil into the bristly hair. (A bit of tea tree oil would have been a good addition, but I didn’t have any at the time.)

The pigs all enjoyed their oily rub-down, but some more than others. Eliza, my favorite gilt and the nicest pig you’ve ever met, thought it was simply. the. best. She made a reservation for a follow-up spa treatment the following week.

Chickens are hilarious

There’s a stack of hay in the barn where the chickens have made a nest and prefer to lay their eggs, but there’s only room for one chicken at a time. Throughout the day, a chicken queue forms: one on the nest, one on deck on a lower bale of hay, and a third pacing and clucking anxiously nearby, encouraging the other two to hurry the heck up. Sometimes the chicken on deck gets tired of waiting to go to bat, so she improvises:

Learning to be a Farm Dog

Ursula, our Australian Shepherd poodle mix, has overcome her anxiety about mud and wet paws and is becoming a first-rate farm dog. She’s anxious to take on new jobs and learn new skills–a model employee, really.

When we go outside to do chores in the morning and evening, she insists on accompanying us. She checks on all of the flocks of chickens and all of the paddocks of pigs, mentally taking note that everyone is in the proper place and reasonably content. If the meat chickens are starving and raucous, Ursula reports back anxiously. If one laying hen is pecking and scratching too far from the rest of the flock, she will herd it back to the group. She once even successfully rounded up four excited piglets who had escaped their fencing and were headed for the open road.

Last week we heard a loud peeping rise above the melee of 49 other baby chicks, coming from the direction of the brooder in the barn. Minutes later, Ursula came out to the pasture to meet us, walking very slowly, very intensely, nose almost to the ground. And under that nose was a 6-day old baby chick. It had somehow slipped through the wire in the brooder, and since Ursula couldn’t get the chick back inside, she brought it out to us!

Farm Dog Ursula

Prepping the garden

In addition to the excitement of spring animals, we’re trying to get our garden dug and planted, which is a challenge this year because it’s been very wet and very cold.

Before we dug, Josh spread lime to help raise the soil pH. Anytime you see moss growing on the ground, it means the soil is too acidic. We have moss almost everywhere! The pH can also be raised with wood ash, but lime is cheap, natural, and easy to apply. Especially if you’re Josh and you make a game out of it:

Applying lime

Finally, we’re expanding the garden this year so that we have room to plant winter storage crops: cabbage, potatoes, onions, carrots. But we don’t have a tractor (it’s on my Christmas list), and hand digging a garden bed out of compacted pasture is a real drag.

But we have pigs! We set them up in some electric netting in the new garden area, and in one week they reduced the area to a tilled (and fertilized!) garden bed.

20170430_160735-1
The day we put the pigs in the new garden area.
20170507_074852-1
One week later.

Right now it feels like we’re running a marathon at 10K pace, but this manic spring activity won’t last. By late June, everything will settle down. The garden will be in, the meat chickens will be in the freezer. We’ll have time to go on occasional hikes, and maybe even start crabbing again in Bellingham Bay.

I can dream, right?


Custom Greenhouse and How to Lay Pavers Imperfectly

Its not until July 4th in northwest Washington that you can bank on warm weather. June around here goes by another name…Juneuary, because it is frequently 50’s and rainy. That is a hard pill to swallow when the rest of the country is already comfortably swimming! Of course, its also cold in JANuary when tomatoes are to be started in order for them to mature by summer. So…greenhouse.

Our plan was to construct one inexpensively one by bending a cattle/hog panel into a tunnel and covering it with plastic. I’ve seen videos of it done very well and quite sturdily, but it always seemed claustrophobic. I wanted to build a knee high wall to give it some more height, but that led to structural challenges and more cost.

One fateful day which may have coincided with finally paying off our $7500 first time home buyers credit from 2008, we were feeling particularly strapped. Gwen may have thrown a tiny tantrum and I may have buried my head in the sand just a little when it hit me:

“We are not going to spend hundreds of dollars building a greenhouse.” Gwen had spoken.

Fortunately, there is a stack of old windows at the back of the barn slowly but surely sinking into the muck.

“I know!” I said. “We will just slap together the windows. We have lots of wood, we can build it for almost nothing.”

Uh huh.

First we had to lay out all the windows to see whether they were sound, judge their size and shape. Turned out there was a sliding glass door in there with the slider part separated. Miraculously the slider went back in the frame and actually slid. Game on! 20170304_170358

After puzzling the windows into rough walls, out came the tape measure to get an idea of the footprint. Then we hemmed and hawed about the location and settled on the least obtrusive/most level/sunniest/closest to a water source spot we had.

Gwen quickly got over her financial fears and brilliantly suggested we use pavers to serve as the floor AND foundation (stacking functions is always a bonus). Done right, pavers go pretty fast when the sub grade is prepped well.

  • Dig to solid ground removing anything spongey, soft, or otherwise organic.
  • Add 4-8 inches of crushed gravel with fines.
  • Level it roughly and water it down.
  • Use a plate compactor to settle the various sizes. Repeat.
  • Lay down 1/2 – 3/4 inch steel rod ideally for a screed surface.
  • Add sand and screed it flat.
  • Lay pavers.

Looks good doesn’t it? Well, I went cheap with my stakes making my own instead of buying metal ones. (We do that a lot around here). When compacting, they loosened enough that my level-string sagged. This was my guide for height of paver so when all was said and done, the middle of the floor is about 3/4 inch below the edges. Let me tell you this is NOT OKAY for the jobs I used to do for the rich and famous. Well, famous locally anyway.

Weeks went by and I just could not bring myself to pull up the heavy-ass pavers and redo. So, it sat. And sat. And sat, haunting and taunting me, until one Saturday morning Gwen sat me down, poured me a 2nd cup of coffee, and began to work out a materials list for the framing.

In other words, time to move on!

I was recounting my design stuckness to a coworker recently when she said to “let it flow like water.” “Okay, Bruce Lee,” I thought. But I knew she was right. I had dammed up my water. They were both right. Cross the dang bridge when you come to it.

Besides, its a greenhouse, not the Queen’s jewelry box.

So, after laying the bottom plates and pinning them into the earth with rebar (we have tremendous winds here), I decided a post and beam type construction would be best. All done with cheap 2x4s and 2x6s. I poured quick concrete footings where the load was greatest at the corners after having awoke at 3:30 am solving that little problem. Another bonus, was being able to reuse a couple of rough-sawn rafters I had taken out of our previous house during a remodel ten years ago.

Stay tuned to see how the heck I end up framing in all those odd sized windows and figure out what the roofing material will be. Because, I have no idea…and that is okay.